
Last November, I got sick. It felt a bit like Chronic Fatigue Syndrome (I’ve had it before) but also a bit different.
Doctors checked for many things and treated some. After many months I was well enough to regularly drive 1 1/4 hours to the closest Traditional Chinese Medicine practitioner for treatment. (Western medicine is not good at treating chronic fatigue, whereas Chinese medicine is.)
Nearly a year on, I do not have a diagnosis, but in my mind, it was burnout – a very physical manifestation. I was completely and utterly exhausted, and my body and mind told me in no uncertain terms to STOP.
Why did this happen? I thought I was doing a good job of managing my time. I was resting on weekends. But I was completely overworking during the week. I realised I wrote my book four times faster than my normal pace. No wonder I was exhausted!
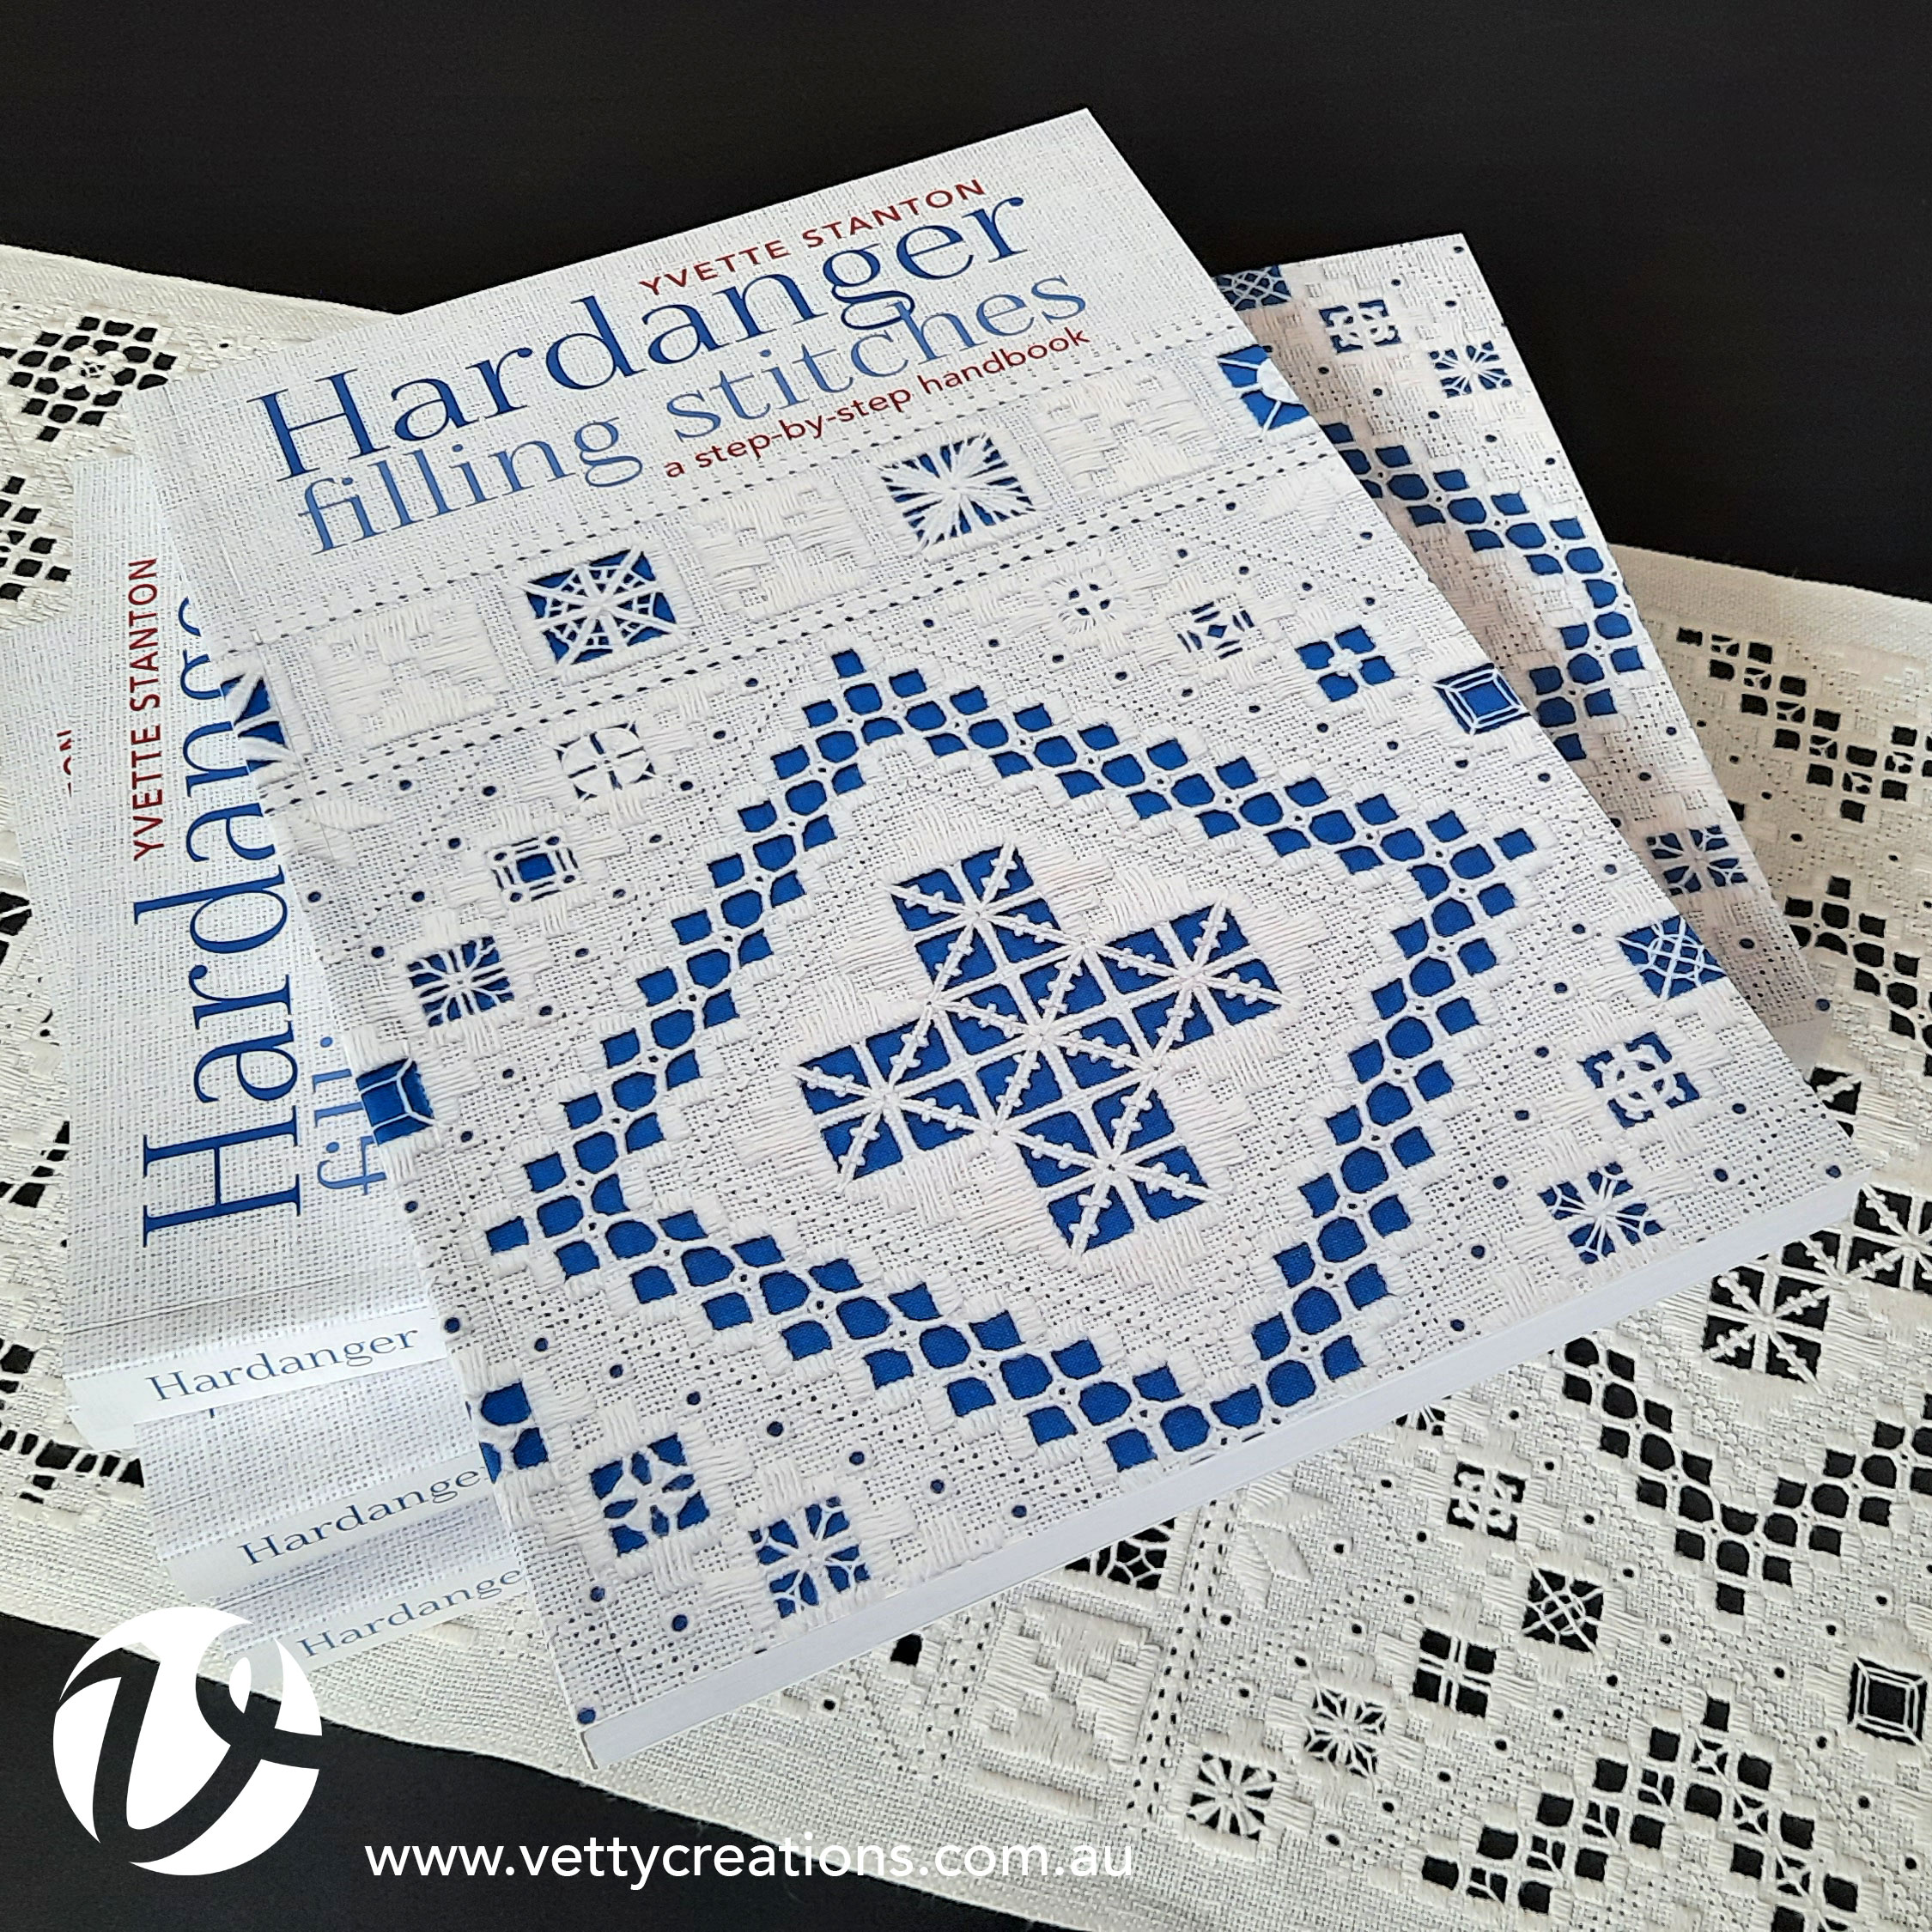
Misguidedly, I had told my UK co-publisher that I should be able to write Hardanger Filling Stitches quickly. They put it in their schedule and released details to the world. You knew it was coming. And you were excited.
From then, the pressure did not let up. The release date moved several times because I wasn’t going to be done in time.
People complained that they’d ordered the book, and where was it? It was still being written! Any sooner and it would not have been the fabulous book you now have.
My strong sense of responsibility meant I didn’t want to let any of you down. So I ran myself into the ground getting the book done.
Self care is a lesson I’ll probably be learning for the rest of my life. I need to stop listening to all the people telling me what to do and asking me for things. I need to stop feeling guilty about resting and start putting my health first. I need to live my life the way I need to, for my health.
Every few years, I find myself reassessing my life and wondering if it’s time to do something else. What I do is valuable and brings many people great joy, but I need to be able to do it in my time and in my way.
I am not well yet. I am starting to wonder if I am now living my new normal. I am making future plans, but for now I’m continuing to take it slow, and hopefully continuing to heal.

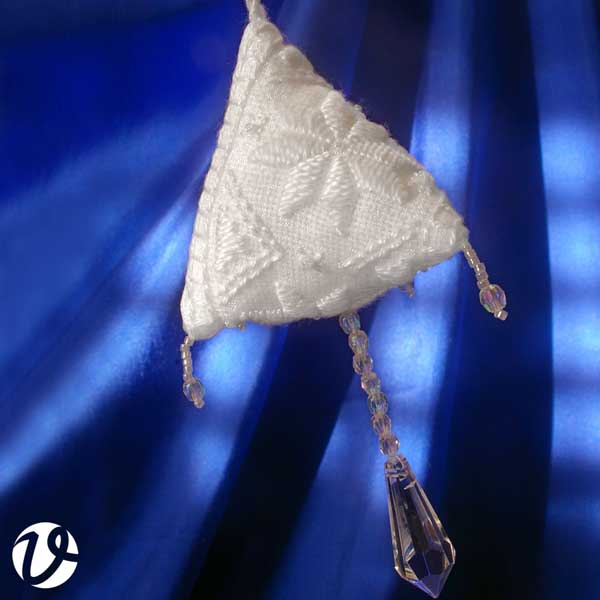
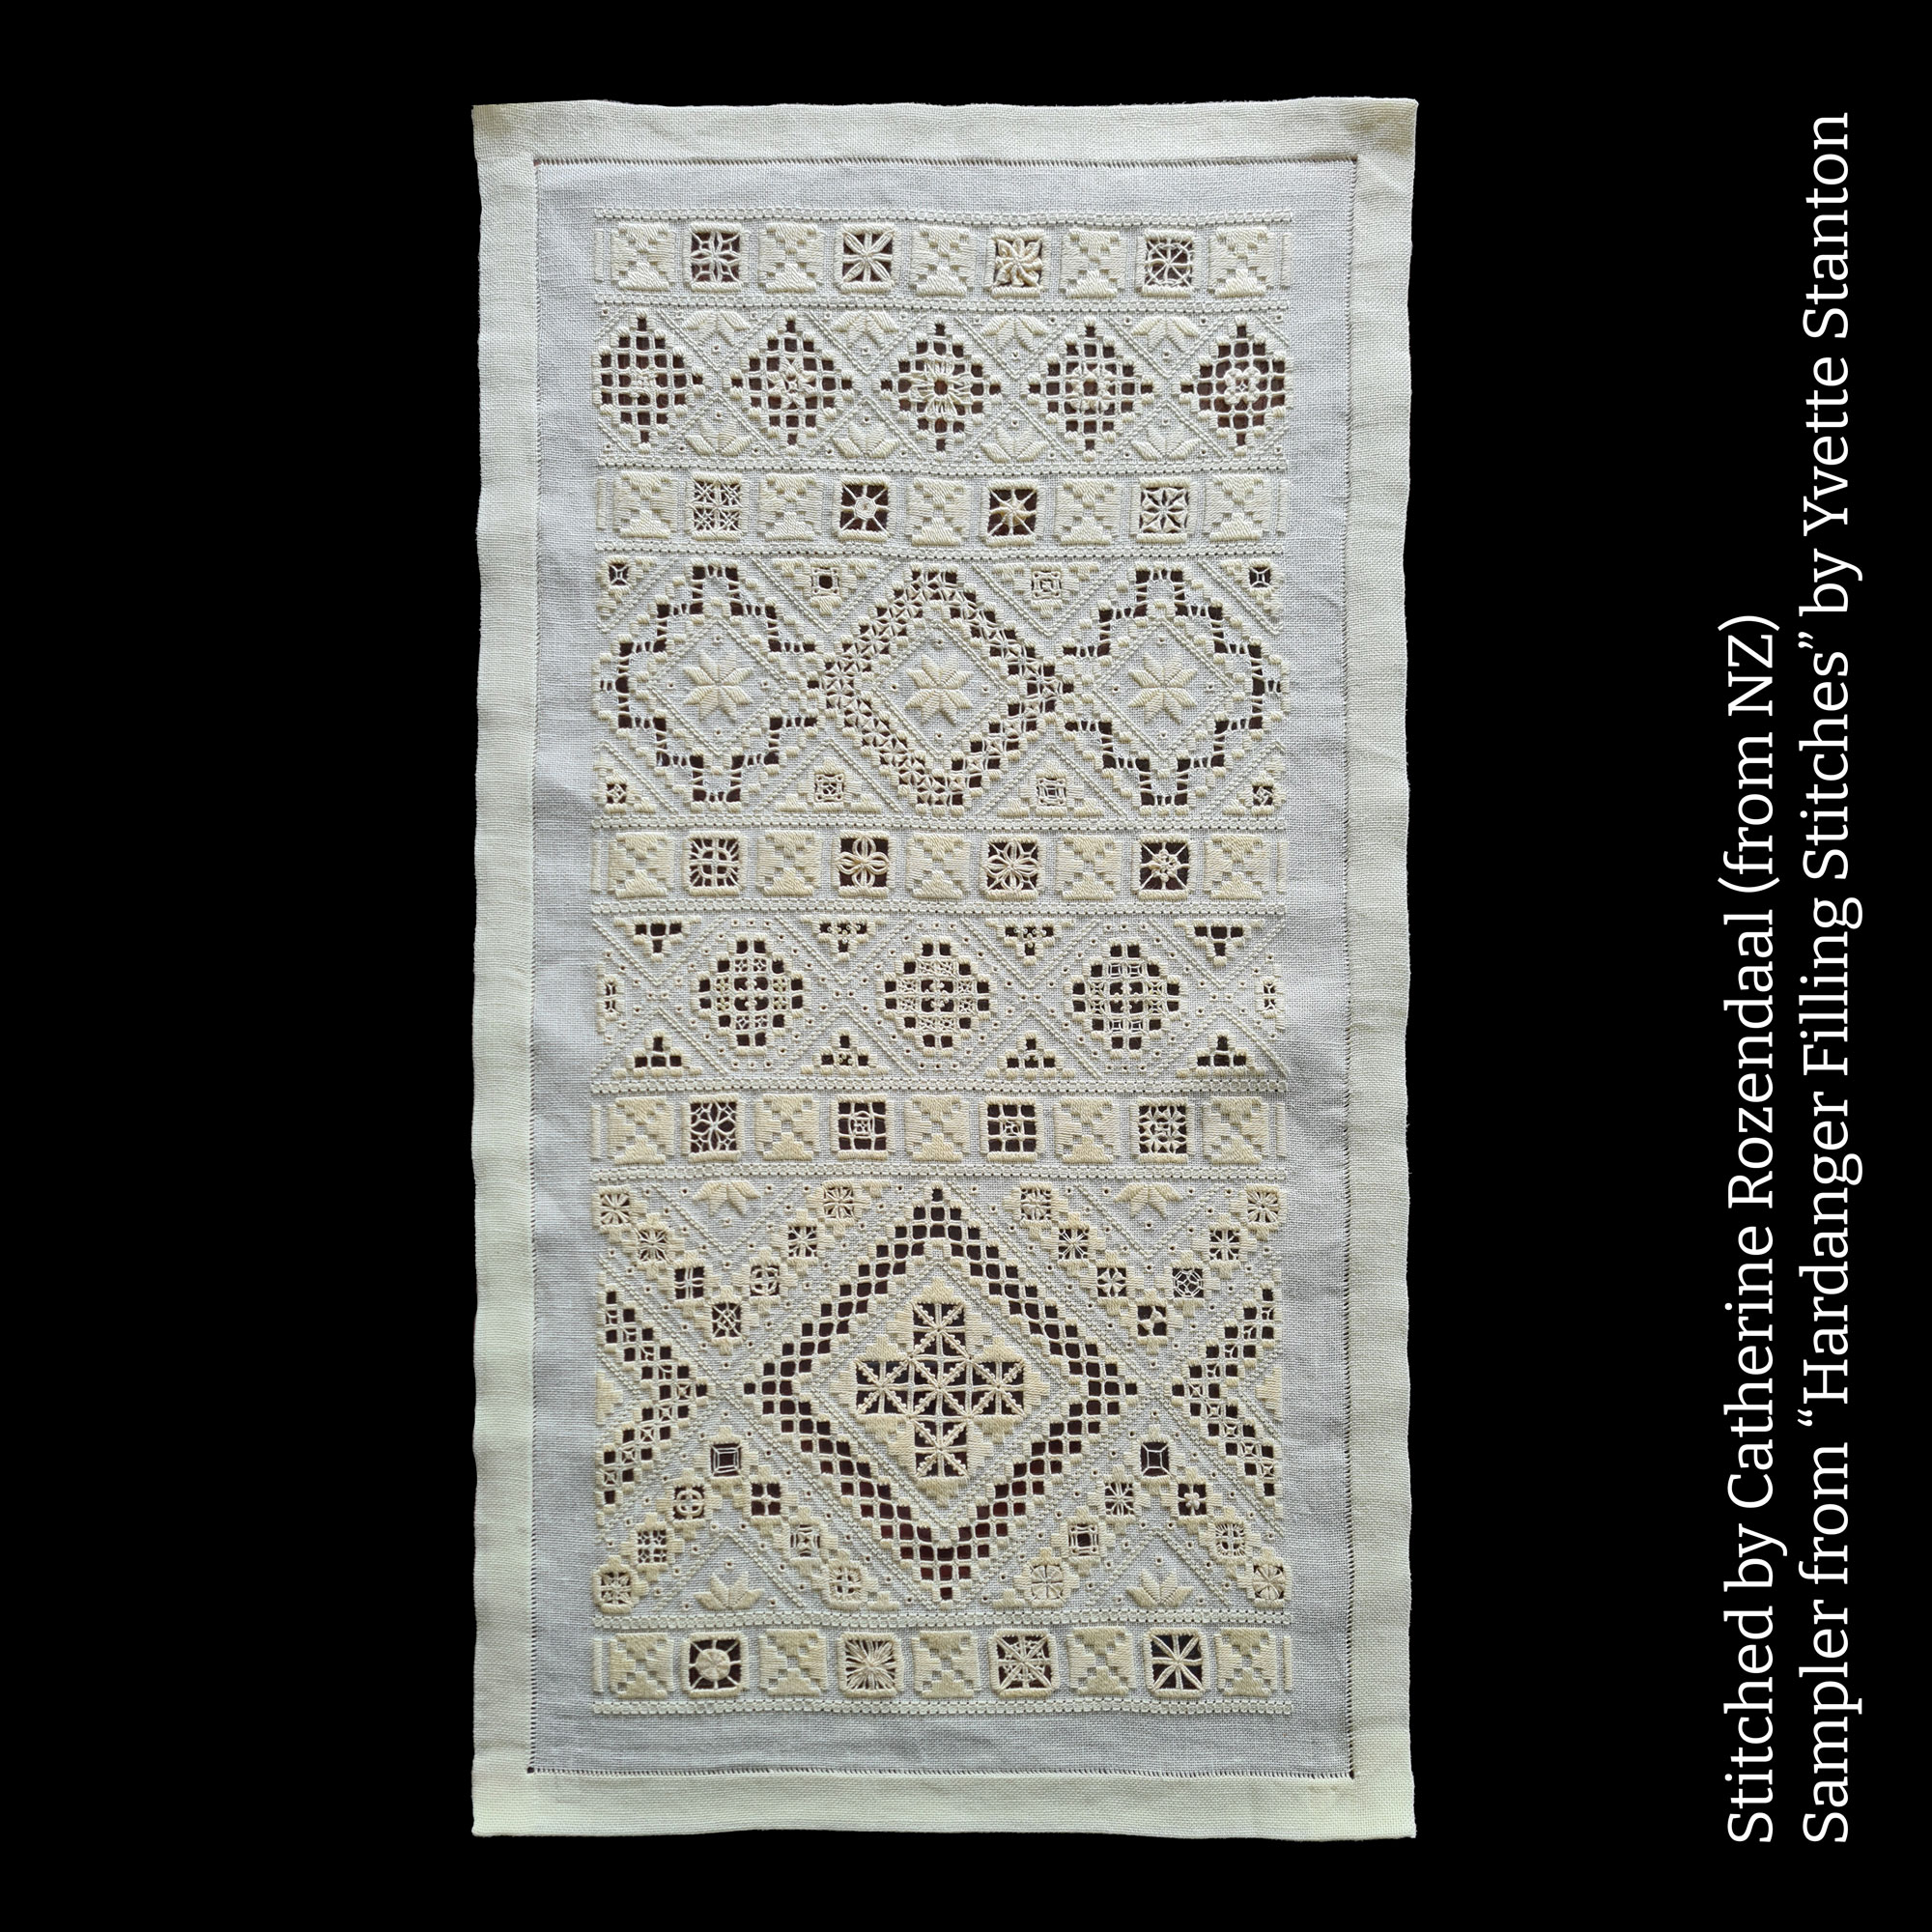 This morning I received a very exciting email from Catherine Rozendaal of NZ. She’s finished her sampler from

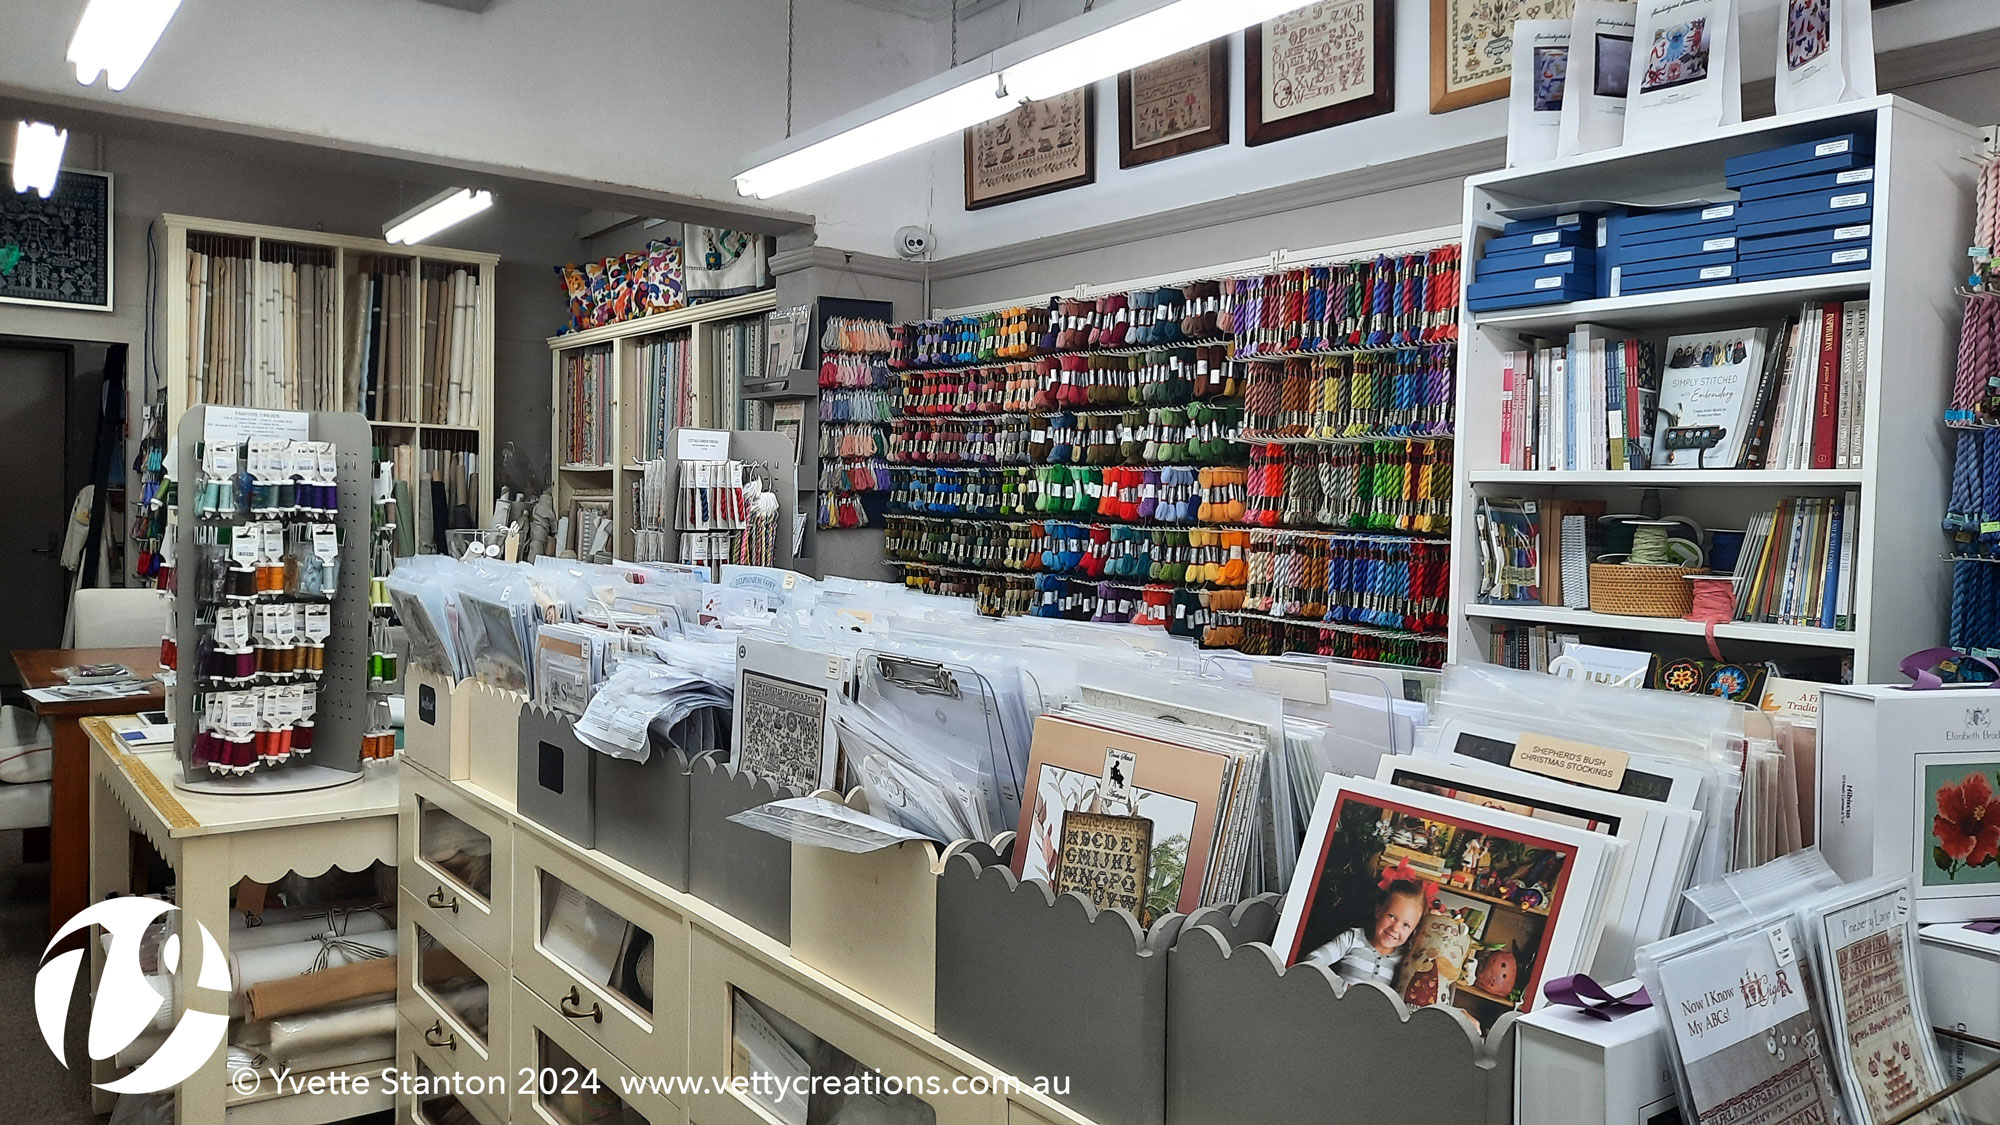
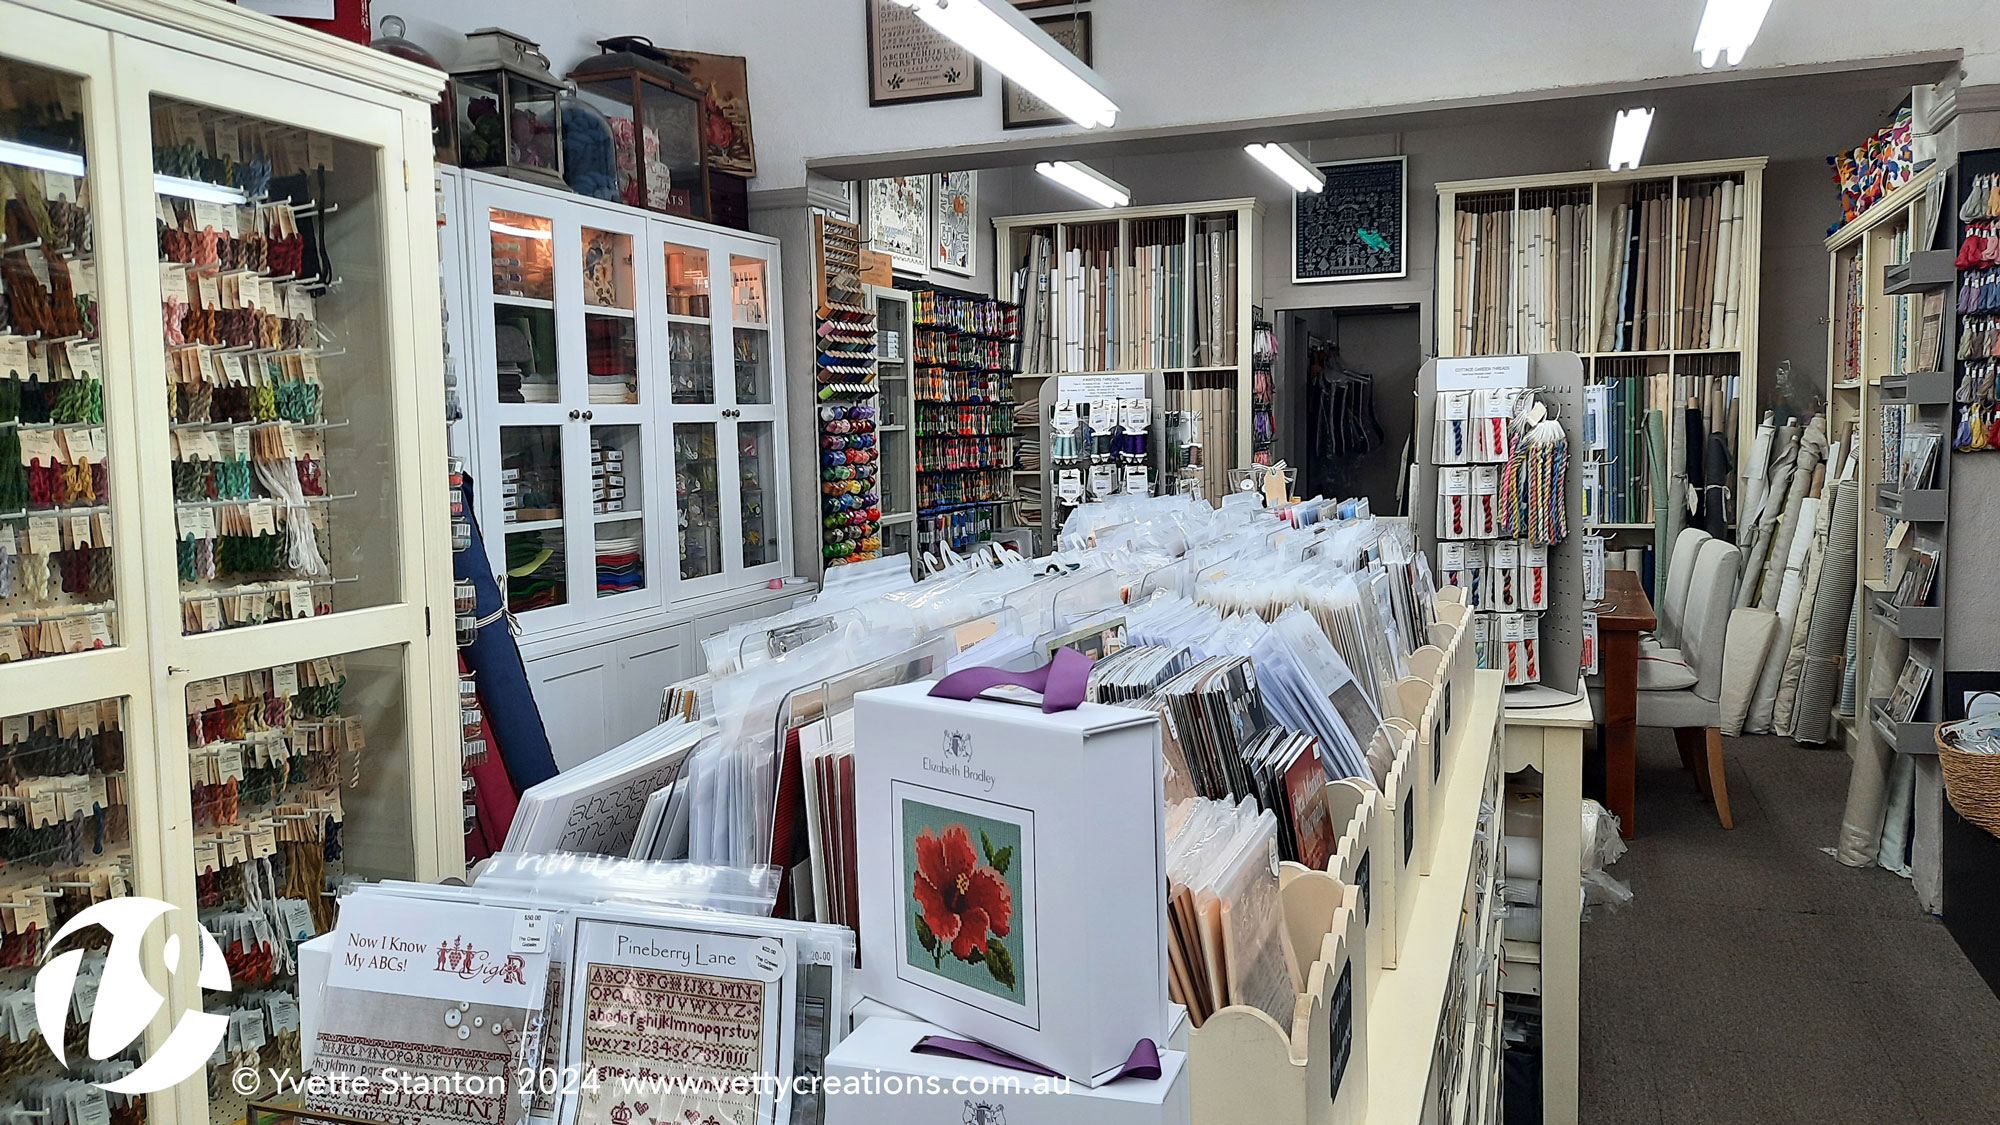


 White Threads is the blog of Yvette Stanton, the author, designer, publisher behind Vetty Creations' quality needlework books and embroidery products.
