

Because of the way the pandemic changed our lives, we all realised that maybe we didn’t all need to be in the one place at the one time to meet. And so, since then, the increase in requests for online classes has been huge. For you, it often boils down to $$$. You don’t want to or can’t pay to come to me, and you don’t want to or can’t pay for me to come to you. I can understand that.
For some, it’s about mobility. Maybe you can’t get to an in-person class because you work, or you’re minding the kids, or you’re caring for a sick spouse. Or maybe you have physical limitations which mean you can’t get there, such as your own ill health, or no transport. I do understand this.
And so, people regularly ask me to teach online classes. However, all the things above notwithstanding, there are so many reasons why this is not a high priority for me. Let me explain…
1. There is one of me.
I am primarily an author of needlework books. These books take time to write. If you want me to keep writing them, it’s best for me not to be distracted by teaching online classes.
2. Zoom classes have a number of problems for me to overcome.
An online class in the format where it is taught over zoom over a period of time, is difficult for me.
As a resident of a small country town, our internet services aren’t always great. If they’re bad on the day I’m teaching, and everything on screen is pixellated, you can’t learn. (This is why the one online course I have is all pre-recorded – you can watch the videos at your leisure and if the internet is bad that day, then there’s always tomorrow.)
Many of you are in very different time zones which don’t overlap well with my daytime, when I am most coherent and able to teach. And if I’m teaching in the middle of my night, that disrupts my household, which isn’t fair on them.
I am not the sort of person who likes to teach, say, 2 hours per week over a period of weeks. I prefer a workshop that goes over 2 days or 4 days etc. Get in, get it done, get on with the next thing. If you were all in my time zone, we could probably do that sort of online zoom class. But we’re not all in the same time zone, and part of the reason so many people want online classes is precisely because we are in different parts of the world.
3. Prerecorded video classes take time.
An online class in the prerecorded video format (like the one I have already done) takes a lot of time to create. I’m not really one who derives oodles of pleasure from making videos. Books are my thing. And so I’d prefer to devote time to that instead.
4. I like being with people.
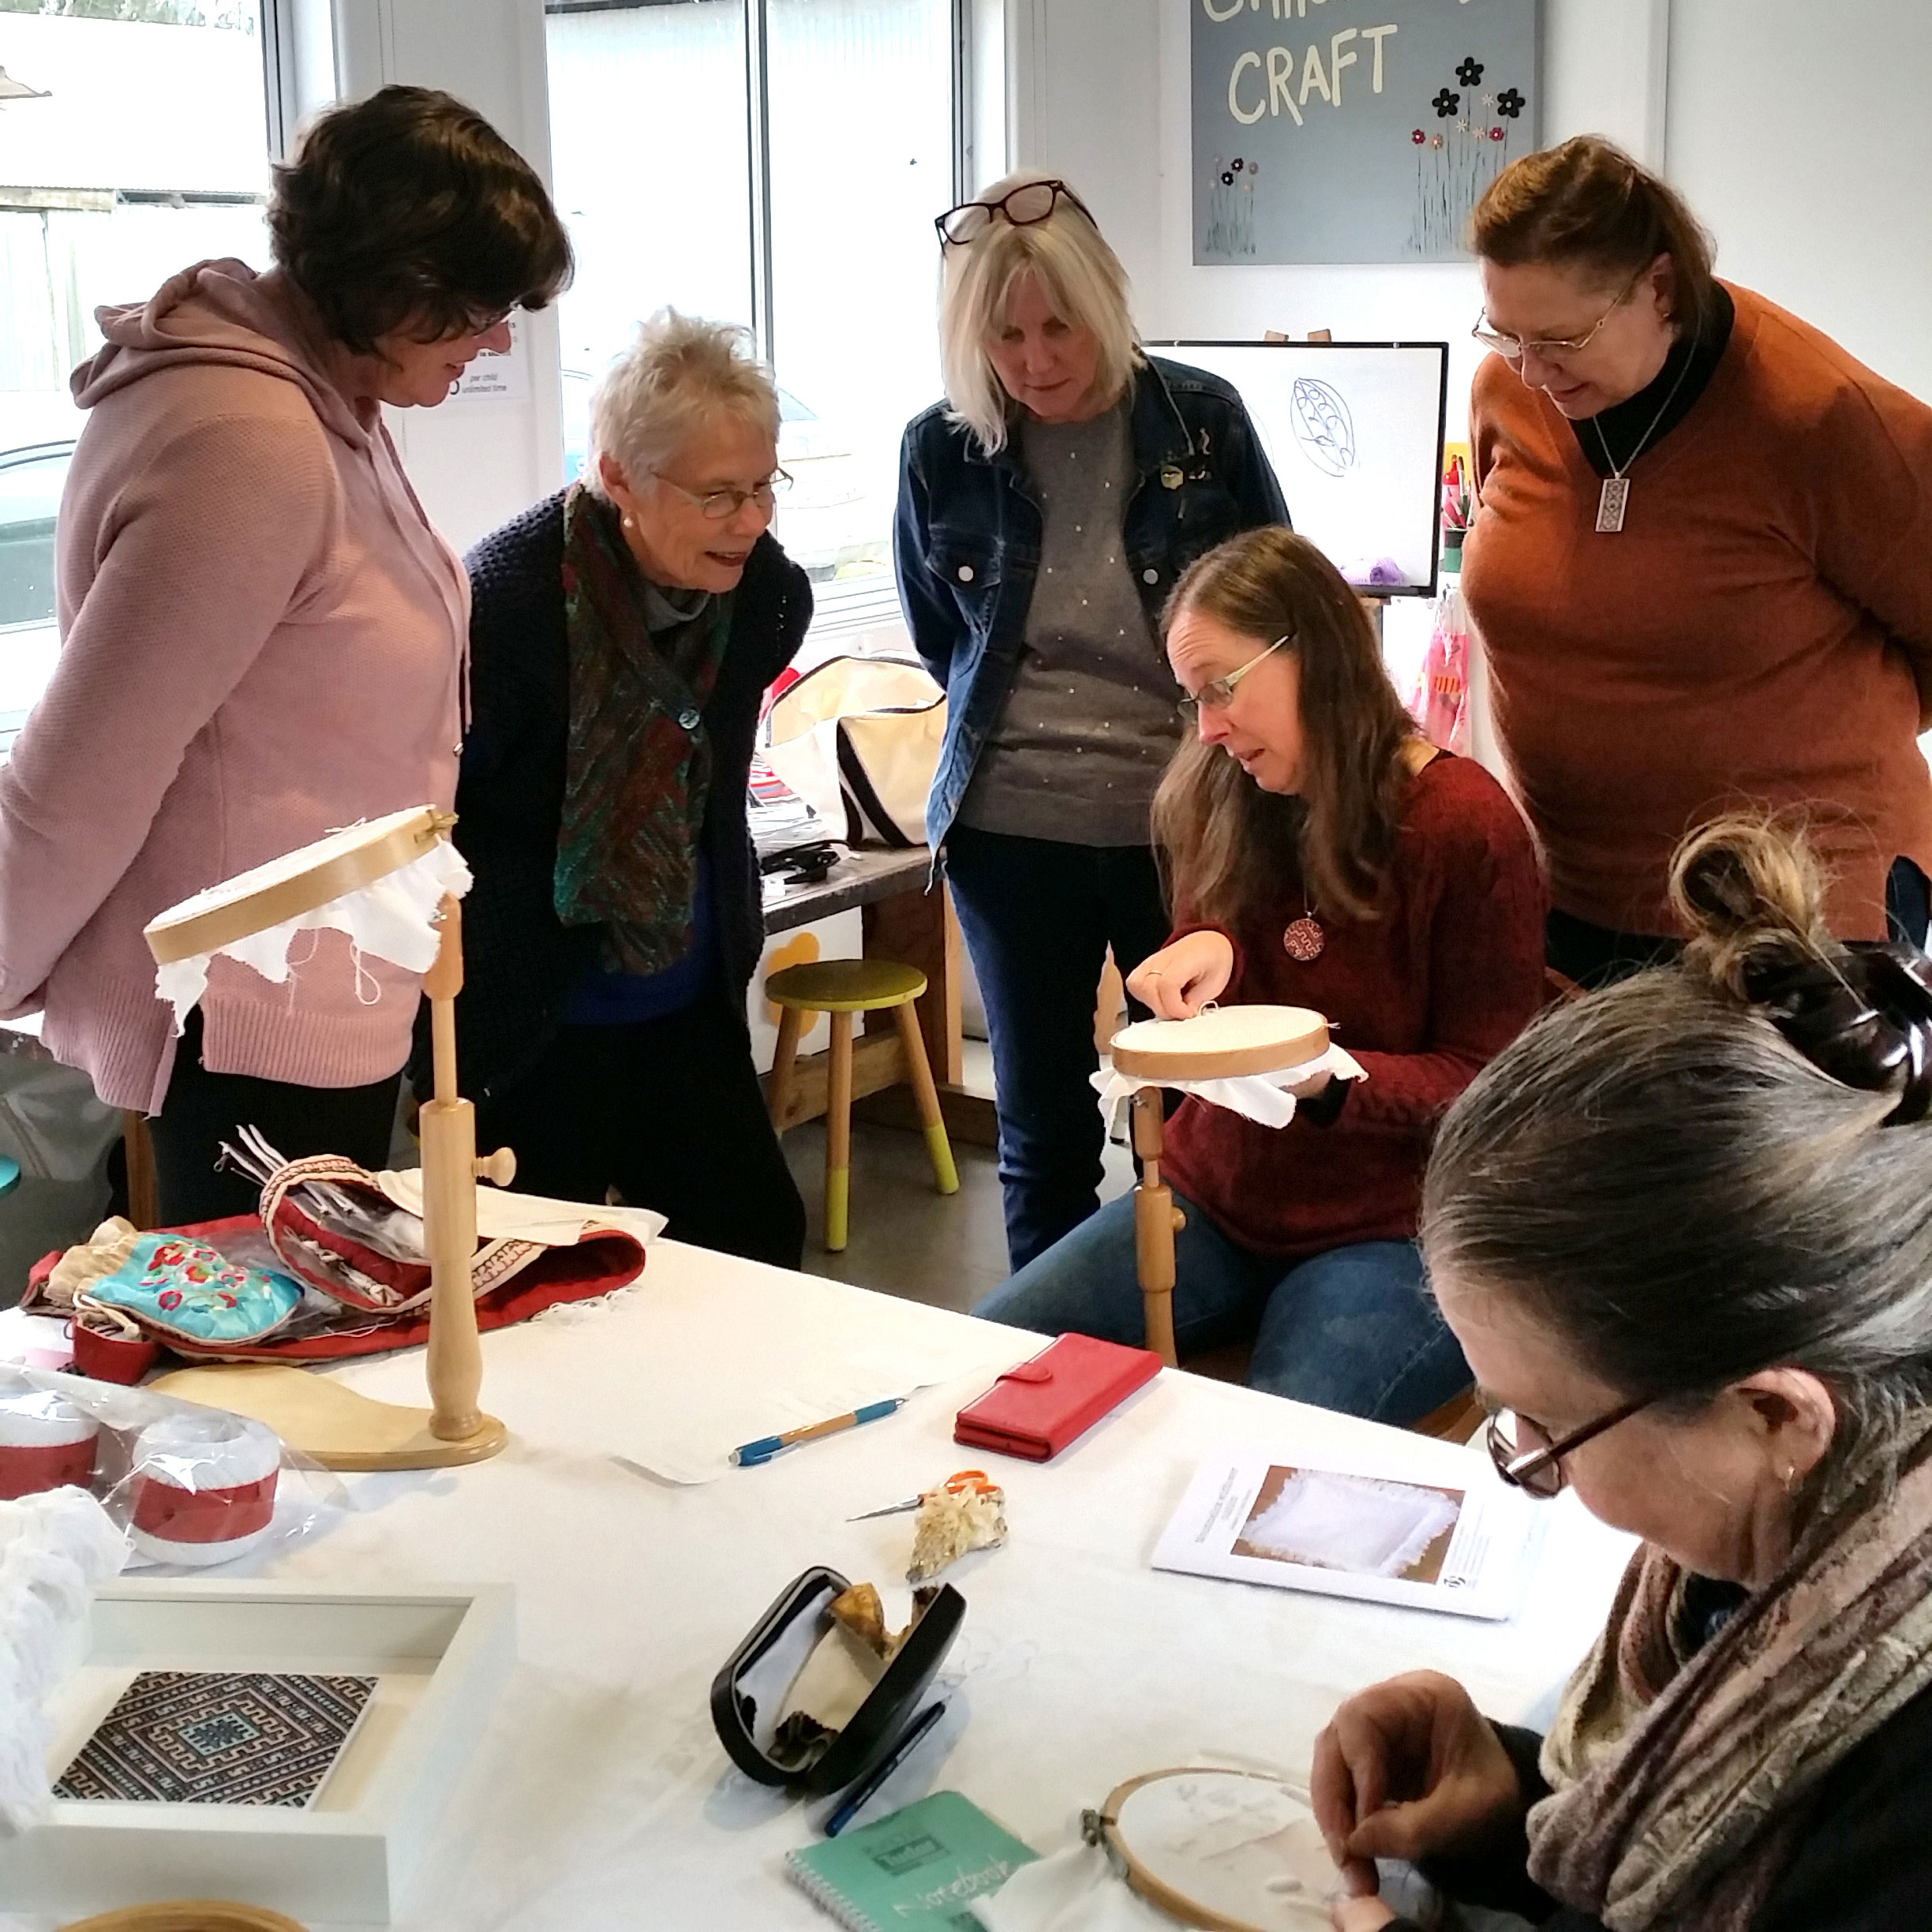
I love the personal interaction of an in-person class. I just don’t believe you get the same lovely interaction through a video screen.
5. Classes are not my main business activity.
Most other needlework teachers who do online classes primarily teach classes. That’s their jam. Mine is writing books. That’s my higher priority. I can reach far more people through my books.
6. In the short term, online classes have a larger time commitment for me than in-person classes.
This probably seems counter-intuitive to you. However, an in-person class, or classes if at a conference, take between 3-10ish days to deliver, including travel time. That’s a much smaller chunk out of my personal and working life than an online class which either stretches over weeks to deliver or takes weeks to create/edit the videos.
7. Catching people unawares (in a good way!)
I like to wander around my classroom, catching people doing lovely work (to praise and encourage them) and catching them making mistakes (so that I can help them before they realise they’ve made one). As the teacher, if you sit up the front of the classroom waiting for students to come to you, you’ll get those who love to ask questions and get all the help they possibly can. You’ll also get those who’ve realised they’ve stuffed up somewhere and need help finding it and/or fixing it. But you won’t get those who don’t realise they’ve made a mistake. Catching people making mistakes before they realise they’ve made one is much, much harder in an online class because I can’t simply cast my eye around the room and see them.
8. Finding student mistakes is a big part of my job as a teacher.
As most of my classes are counted embroidery, finding mistakes and helping my students fix them is a HUGE part of a class for me. When you’re working with fine counts of fabric as we often do, and needing to put the stitches in precisely the right spot, that’s really hard for me to do over a zoom or through a photo. Let’s face it, many people are not good at taking photos of their work, especially close up photos. It’s incredibly easy for them to be blurry. If I can’t see, I can’t correct.
9. Cutwork has a level of difficulty other embroideries don’t have.
“Others teach exacting work online just fine.” Yes, I accept that is true. Many teachers teach fine needlepointing, silk shading, crewel work etc via online classes. If you get a stitch out of place in these forms of embroidery, it won’t look as good. If you get a stitch out of place in some of the forms of embroidery I teach, the whole piece could fall apart. The scale of those mistakes is a little bit different.
If you make a cutting mistake in an in-person class (hopefully I’ll catch it before you do!) I will demonstrate on your work, how to fix it. (The second time, you can do it!) If you make it at home in an online class, there isn’t that option. Many people find those sorts of mistakes absolutely overwhelming and the piece is liable to go in the bin/trash or in a drawer to be fixed another day (yet never see the light of day again).
I want my students to be successful. Sometimes that means holding their hand through a really difficult situation, and it is so much easier to do that in-person than through a screen.
10. It’s hard for me to gauge what sort of feedback you want/need, through a screen.
My classes are based around the student experience. I WANT you to be successful. I WANT you to have a great result. I WANT you to finish the piece and be oh, so proud of it. Being your cheerleader is a huge part of my role as a teacher. I want you to know when I think you’ve done a marvellous job of something. I want to be able to gently and quietly correct when you haven’t. Sometimes people only want praise. Sometimes people really want constructive criticism. Gauging which of those you need from me is so much easier when we’re in the same room together and I can see your body language and the way you conduct yourself in class.
You’re not just students; you’re people. And I want to acknowledge that in my dealings with you. It’s so much harder to build that rapport through a screen.
So what does that mean for you?
I understand that many of you are a long way away from me in rural NSW, Australia. It’s likely I’ll never have the opportunity to come to most of you, and most of you will likely never have the opportunity to come to me. I’m sorry about that. However, there is only one of me, and I have to live my life the way I want to and need to, and if that means I likely will never teach you (other than through a book – my books are quite good!) then that’s the way it is.
It all really boils down to this: People want books by me, in-person classes by me, and online classes by me. However, there is only one of me and my business is just me, and I can’t do everything.
I am open to feedback. If you can think of a way to solve any of these problems, I’m happy to hear from you. I don’t know everything, and I acknowledge that!


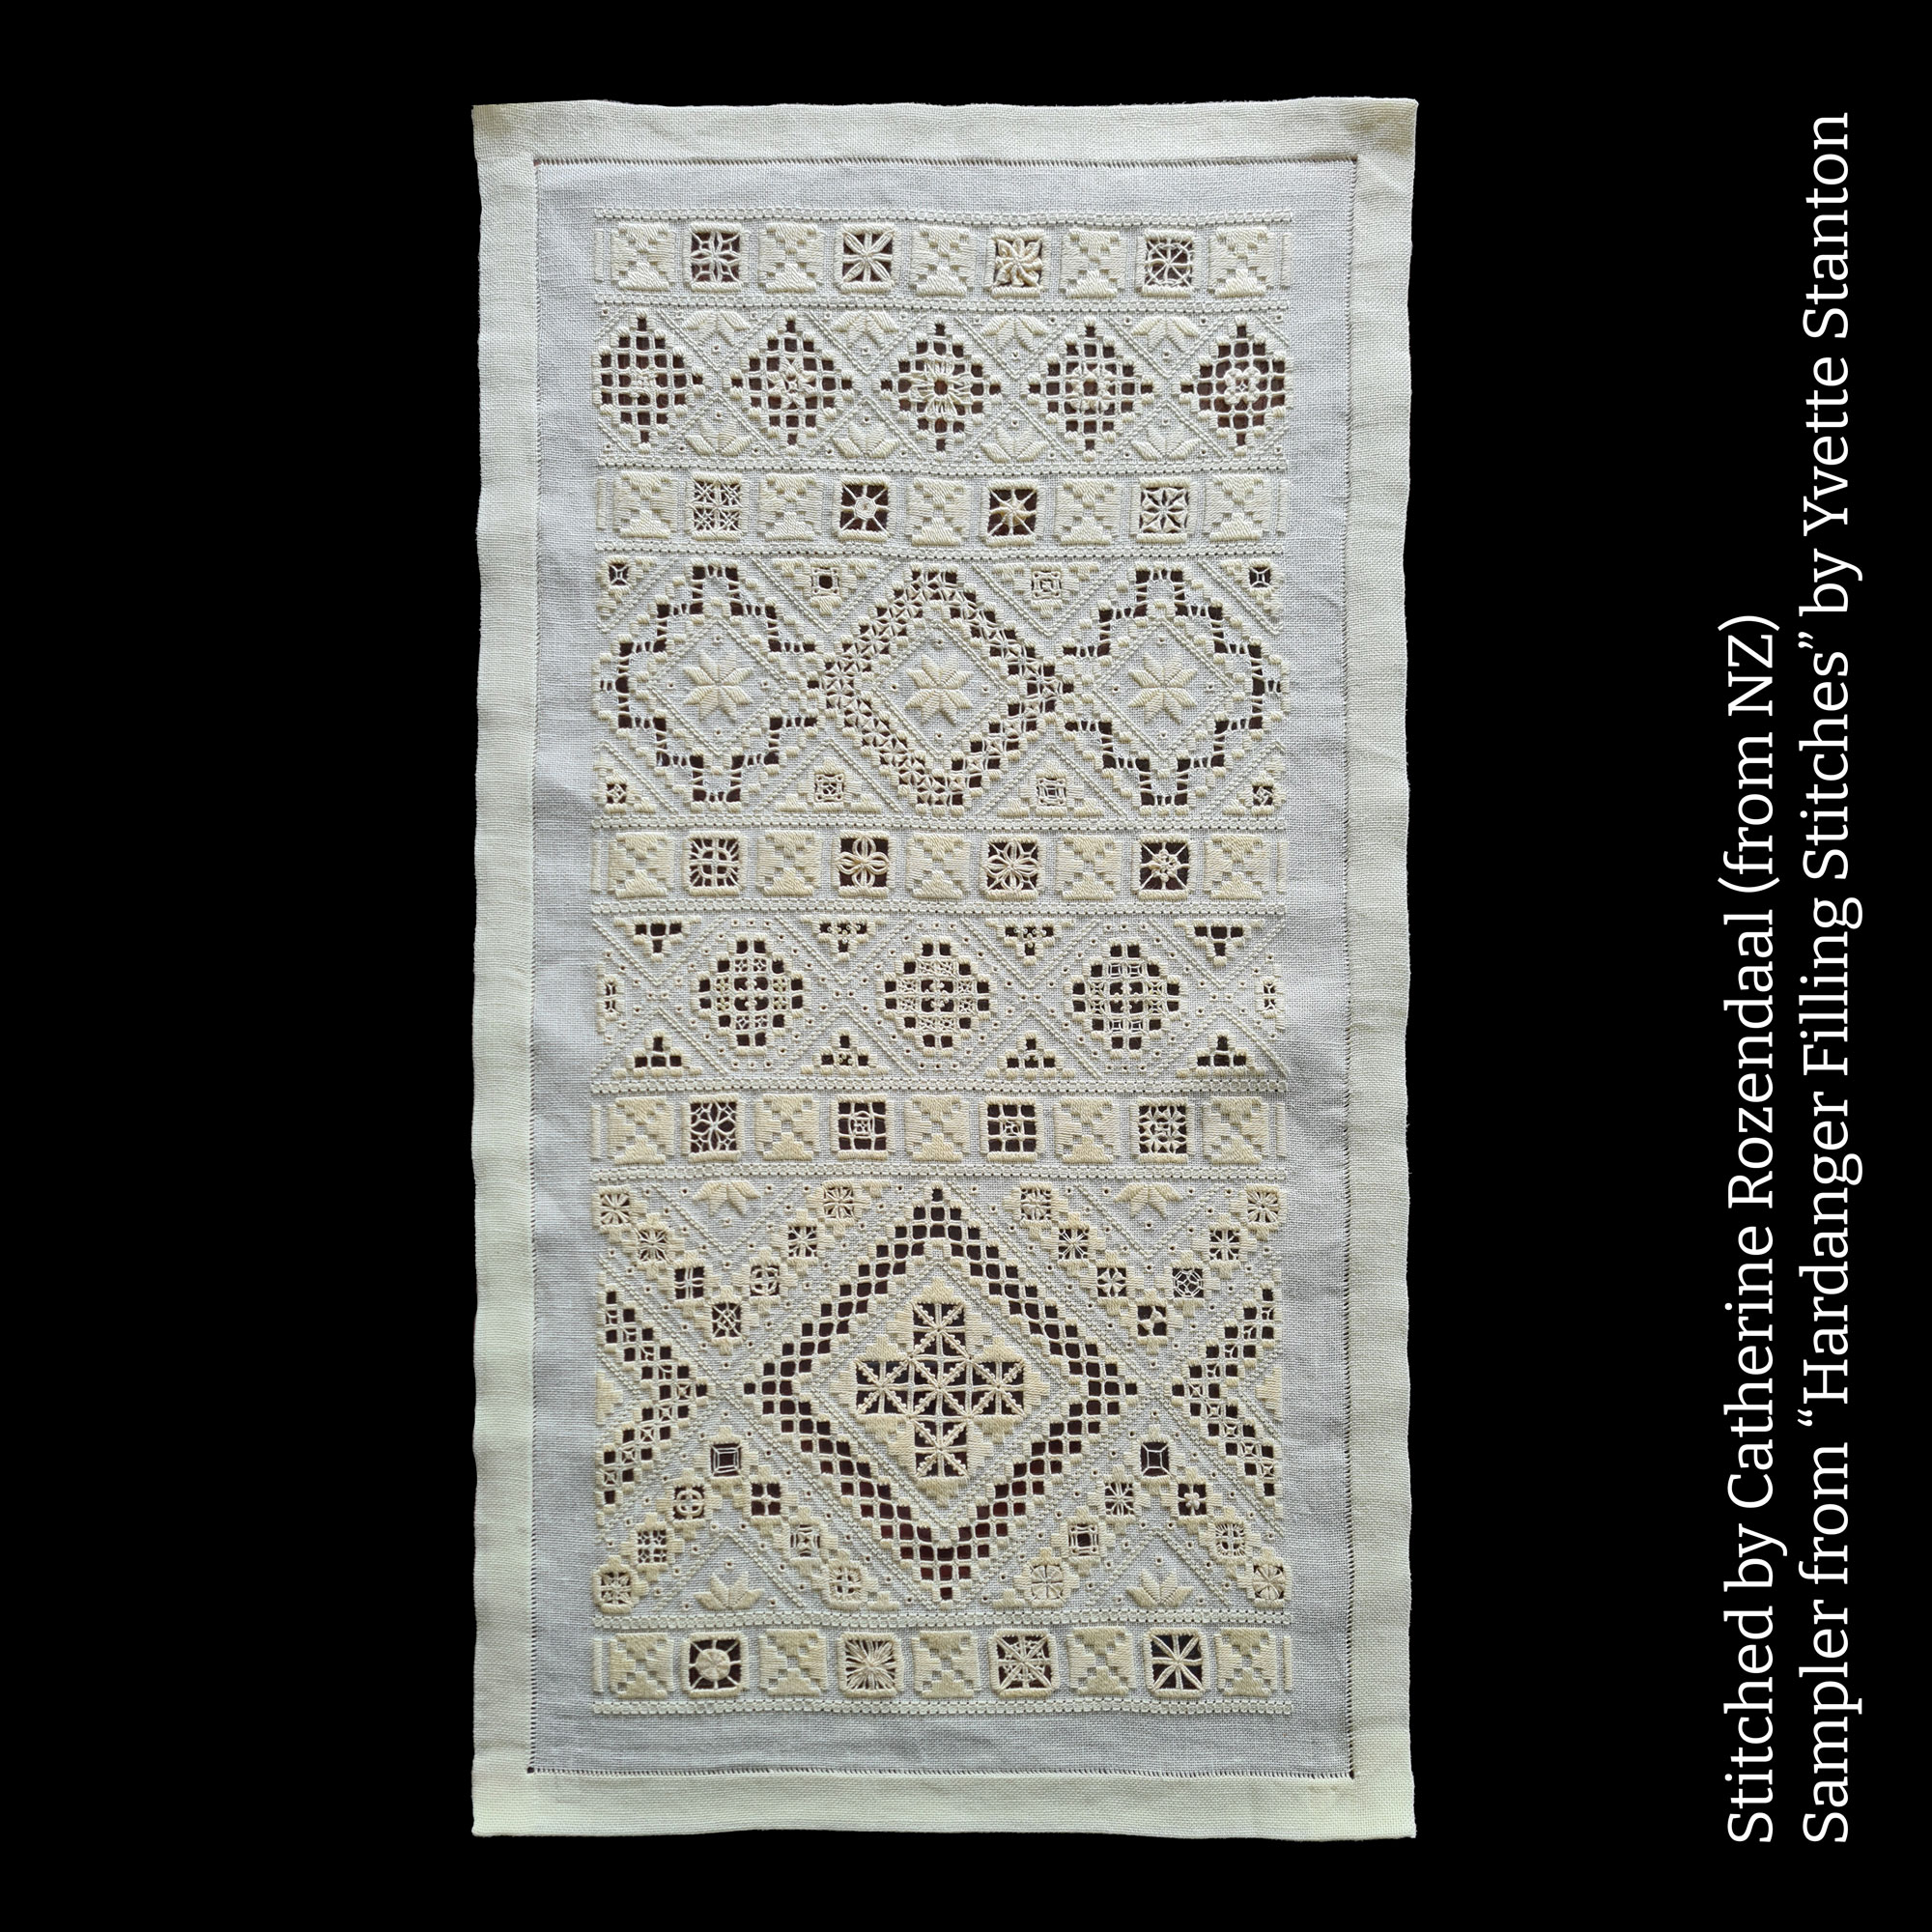 This morning I received a very exciting email from Catherine Rozendaal of NZ. She’s finished her sampler from
  White Threads is the blog of Yvette Stanton, the author, designer, publisher behind Vetty Creations' quality needlework books and embroidery products.
