

This is the order I generally use for stitching Hardanger.
1. Satin stitch
I do satin stitch first as it forms the framework for all other parts of the design. I start near the centre and work outwards. I include buttonhole stitching here, as it usually has the same role as satin stitch in designs where it is included. As I stitch, I constantly check the positioning of the stitching. I want to know that everything is in the right place before I move on.
2. Pulled thread and surface stitching
Next, I work all the pulled thread stitches (and any surface stitching such as cable stitch with regular rather than pulled tension). Pulled thread stitches include eyelets, cable stitch, channel stitch. I want all of of this done before any threads are cut. If you pull threads after cutting, the ends can move within the fabric and even pull out. (Ask me how I know…)
3. Cutting
Cut and withdraw the threads that are required in the openwork areas. By this stage you should know that everything else is in the right place, and therefore if you cut threads, they should be the right ones. Don’t cut and withdraw all the threads required across the whole piece. Cutting destabilises the fabric significantly. Just work with the ones you’re about to weave/wrap.
4. Filling stitches
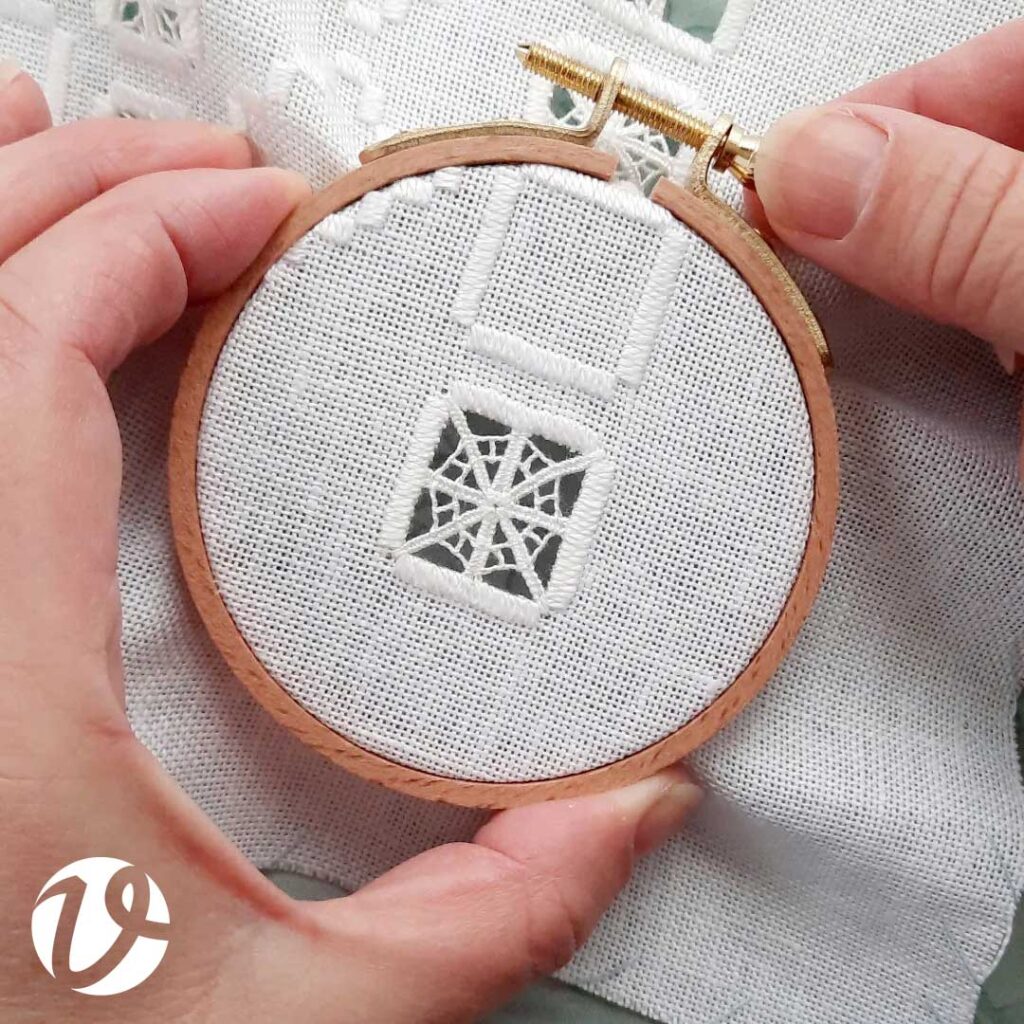
After you’ve prepared the areas of openwork, you need to restabilise the fabric by working the filling stitches. They can be as simple as woven or wrapped bars, but might include specialty stitches. Hemstitching, such as the long borders at the sides of the example shown, would also be worked at this stage.
5. Cut out the piece
If your project is required to be cut from the fabric, do this last. If you cut out earlier, there’s less fabric to hang on to while you’re working/or go in your hoop. Buttonhole edges can be fragile so you don’t want to handle the work too much after this step.
6. Hemming
Some projects, like the example, are hemmed at the edge. If the hemming will not stop you from working the rest of the project (moving a hoop around, if you use one; having enough fabric to hold at the edge) you can do it first. Otherwise, do it last.
The project shown is the table runner from my book, Early-Style Hardanger.


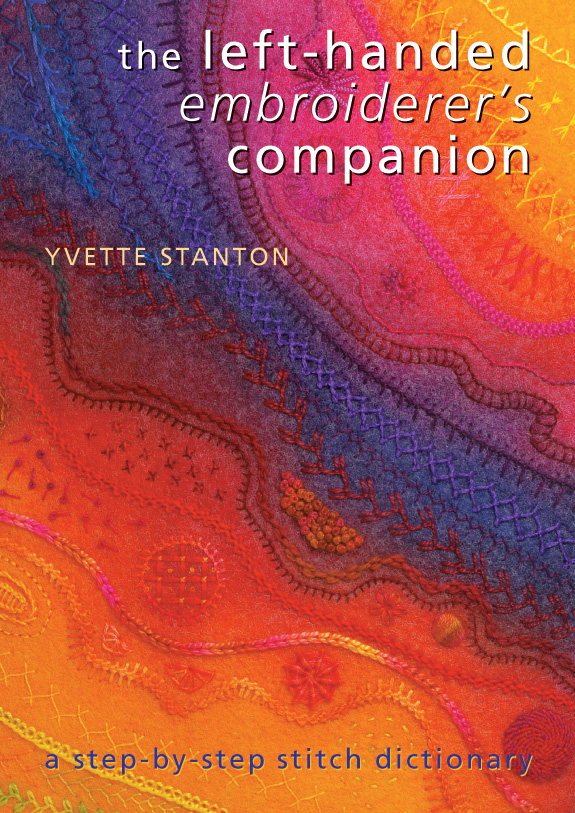 A lot of people have been asking about “The Left-Handed Embroiderer’s Companion”. It is currently out of print, and has been for way longer than I had intended.
 White Threads is the blog of Yvette Stanton, the author, designer, publisher behind Vetty Creations' quality needlework books and embroidery products.
