
This morning I finally got the chance to do The Big Boil Up. By the time I got to it, the embroidery had been soaking in cold water for about 36 hours.
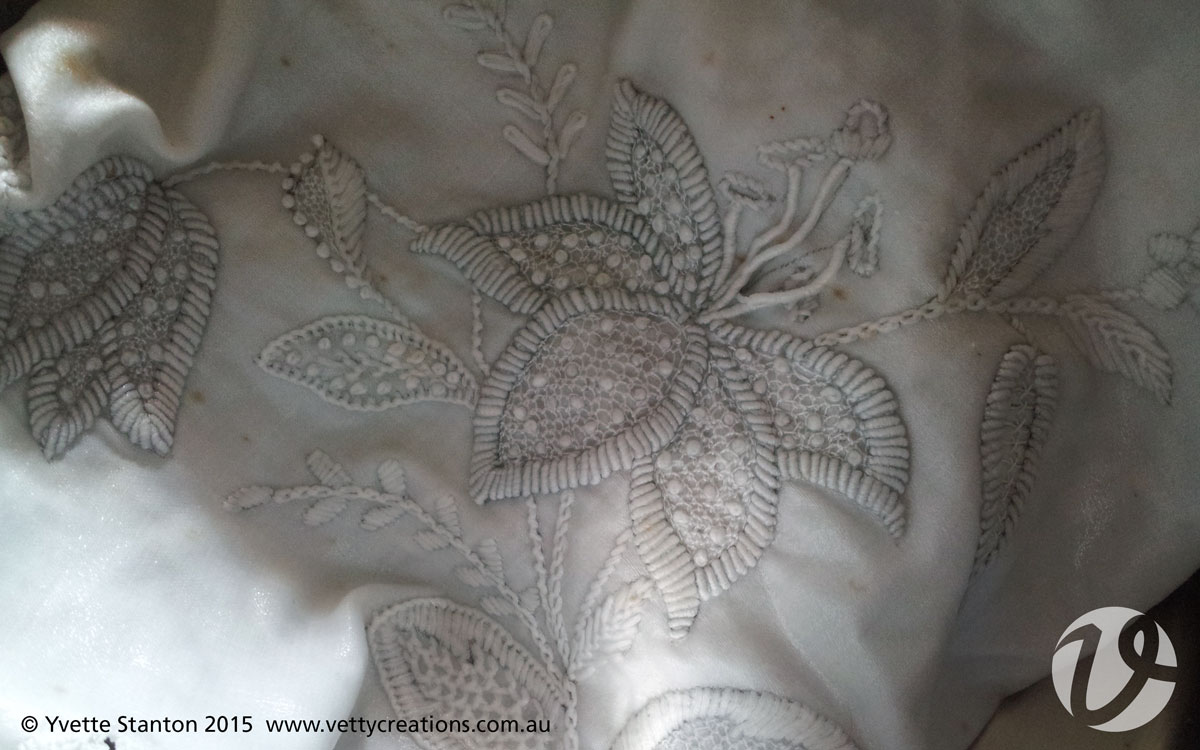 On this photo, note the heavy black lines underneath the stamens of the lily. They have to go! You can also see various brown spots, and the petals and some of the leaves have a general greyness about them because of the black lines drawn onto the fabric.
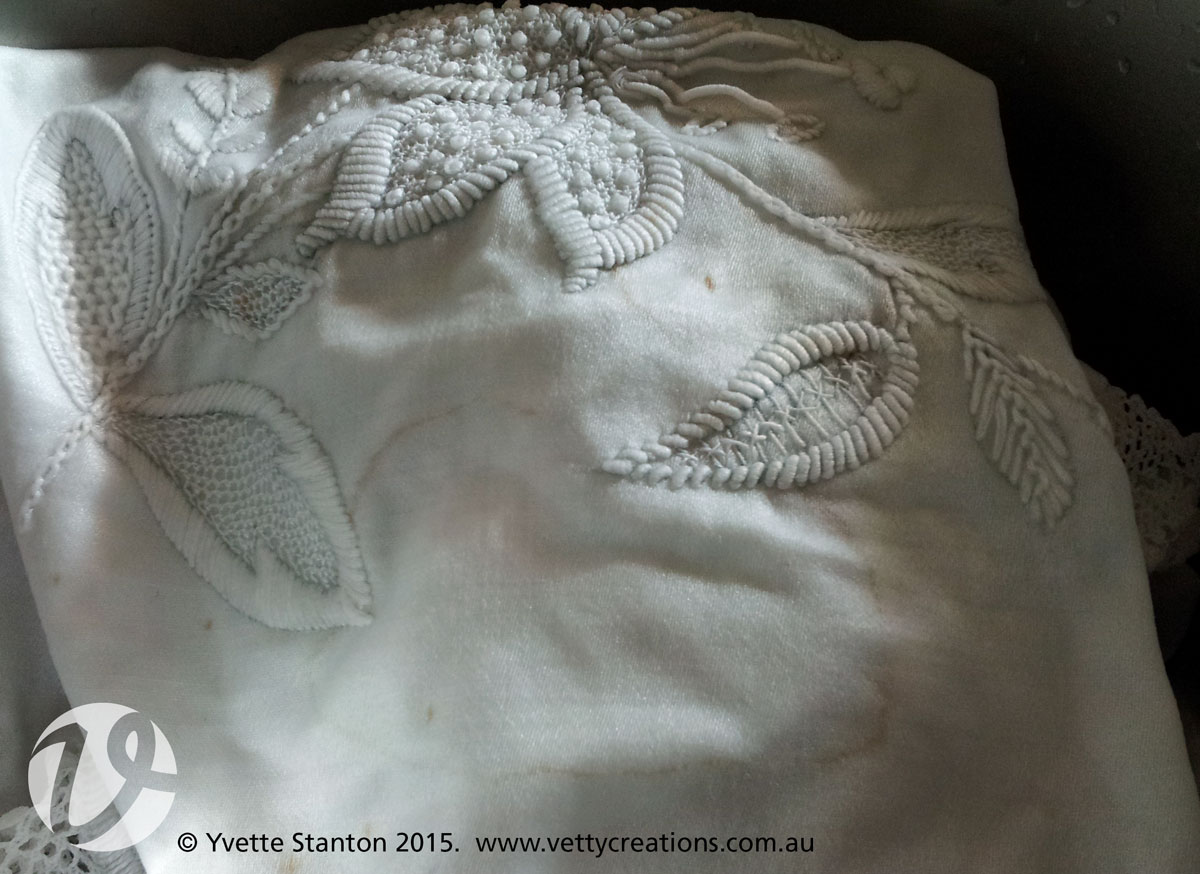 This photo shows a large brown ring (which didn’t show up when it was dry, from memory) and again, greyness on the petals and some of the leaves. This is most obvious where the bullions form the petal edges and leaf edges.
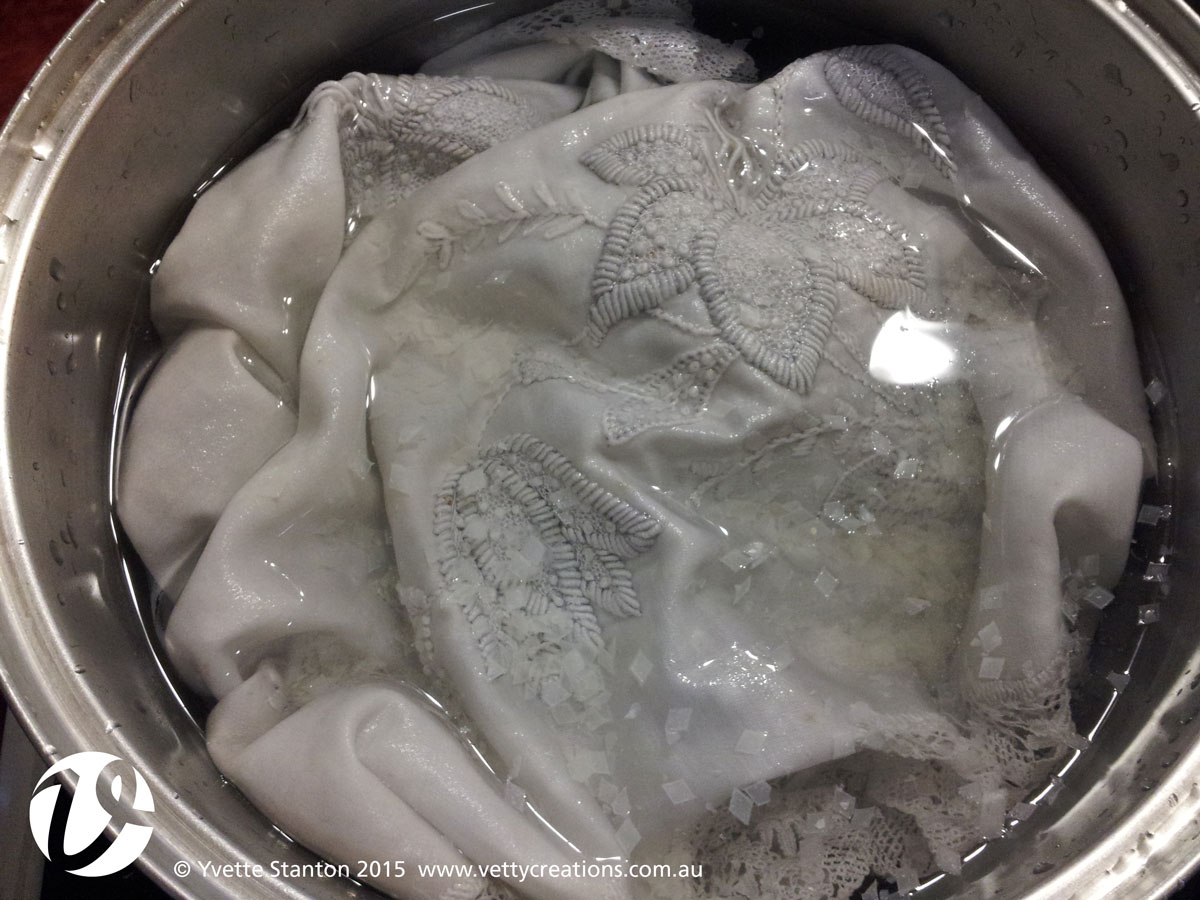 Into a large pot went the embroidery, a fair quantity of water, and pure soap flakes. I put the lid on and turned on the stove to full. Then I put the oven timer on for 10 minutes and went off to do other things.
 When the timer went off, I came back and soon it started boiling.
I let it boil at a rolling boil for about 20 minutes. I had to keep pushing the embroidery back down into the pot, as when the water boiled and the bubbles came up they would inflate the embroidery out of the pot! Sometimes I just put the lid on and let it boil happily away by itself.
I then carefully drained the water, replaced it and then boiled again. This time I added 1 teaspoon of cream of tartar to the water (just because this was something that had been suggested to me and I wanted to try it – it’s not part of the traditional process), brought it to the boil, then let it boil for another 15 minutes. And then I replaced the water one last time and boiled it again, this time without the cream of tartar.
At the conclusion of this process, the black lines were as black as they had been. Oh dear! However, the fabric, lace and thread had all stood up well to the boiling process.
I spun the piece in the washing machine to remove excess water, and then hung it up in the sun (winter sun, so not very strong) to dry. The sun can also bleach, so it was a deliberate decision to dry it this way.
Late in the afternoon I took it off the line and found that as it had now dried, I could tell that the piece had indeed whitened and brightened. Unfortunately the black lines had not whitened or brightened at all though. They’re still as dark and as black as ever. Most of the brown stains and “rust” marks have gone. There are one or two still clearly visible and others that are nearly gone.
In some ways the boiling was a success and in others, not so much. The success is due to the fact that it didn’t fall apart! And overall, it did whiten quite a bit. The non-success is that those heavy black lines are still heavy black lines.
Was it worth doing? DEFINITELY! It proved to me, yet again, that Mountmellick embroidery can take a beating! It’s sturdy stuff and copes really well with being boiled.
I gave it a good iron, and can now see how very beautiful this piece is. It’s a pillowsham, with sprays of lilies in two opposite corners. The lily petals are worked with a border of padded bullions, and filled with needlelace filling and dotted with French knots. They’re really very pretty. It’s not a petal treatment that I’ve seen before, but I’m thinking that I’ll give it a go at some point on one of my own projects.
So I’m very happy with my birthday purchase. Thanks to Thompson’s Country Collectables at Windsor, for the opportunity to purchase it!
 White Threads is the blog of Yvette Stanton, the author, designer, publisher behind Vetty Creations' quality needlework books and embroidery products.

Yvette
well done being so brave to try this, may I ask what brand soap flakes you used? Are you allowed to say?
thanks
julie
I used Lux Flakes, Julie. No problem with me saying that! 🙂
Oh, and the “rust” spots mostly disappeared, which I thought you might be interested to know. Many are gone completely, and others are very much faded.